


This is the second chapter in the Kubernetes series. In the first chapter, we have learned about the basics and the architecture of Kubernetes. Now, let us learn further how to bring up a Kubernetes cluster.
To bring up a Kubernetes cluster in order to run your specific service containers, we need the following components.
Local Environment:
Requirements:
- Docker : The Docker driver allows us to install Kubernetes into an existing Docker install. On Linux, this does not require virtualization to be enabled. We can either download Docker Desktop or Docker driver from this url based on your OS.
- Minikube: Minikube provisions a local Kubernetes cluster on macOS, Linux, and Windows. Its goal is to be the tool for local Kubernetes application development and to support all Kubernetes features that fit. Minikube create a Kubernetes cluster with 1 node and uses your system resource. We can download Kubernetes via this url based on your OS.
Once the above requirements are fulfilled, use the following commands to start the K8s cluster.
which minikubeThis tell us the path where minikube is installed on our system.
minikube startThis will start minikube on our system, i.e. it will create a Single Node K8s cluster.
Note: In case, the previous command fails i.e. it is unable to start minkube, it might be because of the drivers in our system. In order to resolve it, please refer to the drivers page based on the OS and run the following command which is similar to:
brew install hyperkit
minikube start --driver=hyperkit
minikube config set driver hyperkit
The above command(s) are for MacOS. The first command will install the hyperkit driver for MacOS, followed by which we are booting up minikube with the driver as hyperkit. Finally, we are changing the default driver to hyperkit which will ensure that the next time we run a minikube start it will start with the hyperkit driver.
To check if the minikube has started and is running fine:
kubectl get po -AIt will display the pods if running.
In case the above command fails, we can set an alias:
alias kubectl="minikube kubectl --"To check if the K8s node is running:
kubectl get nodesIt will display the node which is part of the K8s cluster.
Cloud:
To setup a Kubernetes Cluster on a Cloud Service Provider such as AWS/GCP etc.
We'll be going through the setup of a Kubernetes Cluster on AWS:
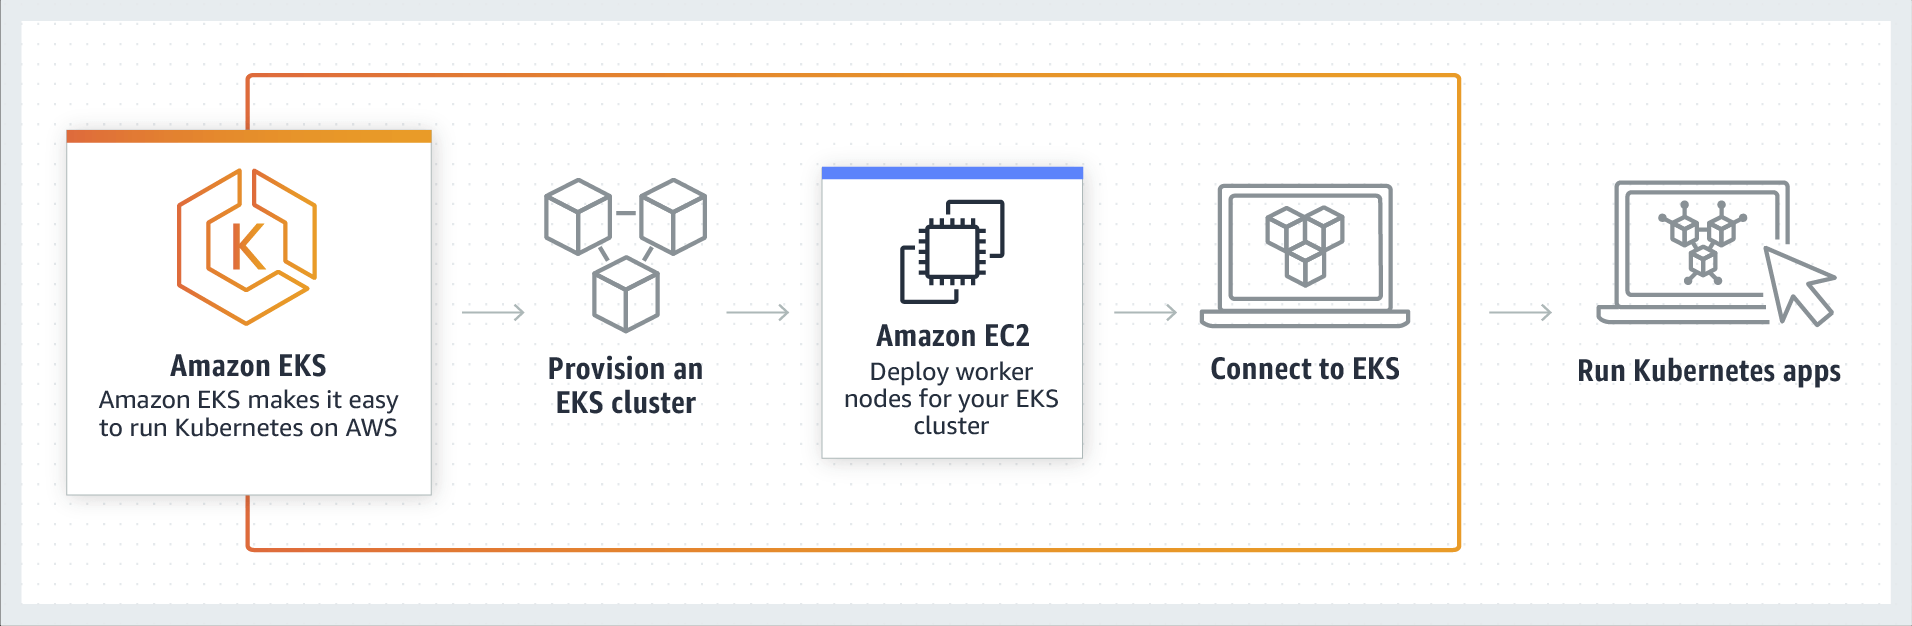
We will be making use of AWS EKS which is Elastic Kubernetes Service, i.e. AWS on-premises Kubernetes Service.
Before bringing up the EKS Cluster, we need the resources mentioned below:
1. aws cli
2. VPC and Subnets
4. IAM User(To create the EKS Resources)
5. Kubectl
6. eksctl
7. SSH Key/Pem File(Optional: Required if you want to login to the node)
Please refer to the links above to download/setup the above resources based on your OS.
To ensure that AWS CLI has access to AWS:
aws sts get-caller-identity
To check the version of installed eksctl and kubectl:
eksctl versionkubectl version
Now let us proceed further, assuming that the VPC, subnets and necessary permissions are present for bringing up an EKS Cluster with a single node.
EKS Cluster on AWS using Eksctl command:
    eksctl create cluster
    –name=<name_of_eks_cluster>
    –version=<version_of_eks>
    –region=<aws_region>
    --vpc-private-subnets=<comma separated subnet_ids>
    –nodegroup-name=<name_of_nodegroup>
    –node-type=<instance_type>
    –nodes=<number_of_nodes>
    –nodes-min=<minimum_nodes>
    –nodes-max=<maximum_nodes>
    –ssh-access
    –ssh-public-key=<ssh_key_file>
    –managed
Here,
- name: Name of the EKS Cluster
- version: The Version of the EKS Cluster. You can find the latest versions here
- region: AWS Region, example: "us-east-1"
- vpc-private-subnets: Create a cluster using a custom VPC with private subnets
Note: use--vpc-public-subnetsto create the cluster with public subnets - nodegroup-name: The name associated with an Amazon EKS managed node group
- node-type: Instance type i.e. t3.small, t3.medium etc.
- nodes: Number of nodes to launch i.e. EKS will create the required number of machines.
- nodes-min: Number of minimum nodes which EKS should maintain. Used for Auto-scaling purpose.
- nodes-max: Maximum number of nodes EKS can provision.
- ssh-public-key: SSH Key file to allow remote access to the node(s).
Running the above command will create a K8s cluster hosted on AWS in some time.
To check if the required number of nodes are running:
kubectl get nodesHope this article helps to create a K8s cluster hosted on either our local environment or on a Cloud Service Provider like AWS. There are many other ways to bring up the EKS Cluster such as using the AWS Console, aws cli commands and terraform.
In the next chapter, we will learn how to deploy a sample application in our K8s cluster.


